Beads Out Level 607 Guide
In Beads Out Level 607, several early moves look playable, but only one opener keeps the middle phase stable. Follow the opener through move 7, compare board shape again around move 13, and keep one correction lane available for the final 9 moves.
Level 607 is mainly about split-color buildup that punishes rushed regrouping. At this point in the master ladder, one wasted recovery move usually snowballs into a full reset. Because the solve runs longer than average, one sloppy transfer in the middle phase is usually enough to poison the ending. You want one reliable handoff pattern here, not a series of improvised fixes.
For this stage, the most reliable pattern is a three-phase flow: stabilize the opening, control the midgame transfer order, and finish with a strict cleanup sequence.
Opening Plan
Protect your best empty lane instead of spending it on the first obvious merge. Hold this plan through move 7. Most stable clears start with this exact restraint.
Timing Cue
Do not convert anchor lanes into temporary storage once the board starts to open. Re-check lane ownership around move 13. Most resets start with a small mistake in this window, not the ending itself.
Phase 1
Protect your best empty lane instead of spending it on the first obvious merge. Hold this plan through move 7. Most stable clears start with this exact restraint. This is your opening anchor for Level 607. If this phase is stable, the remaining route is much easier to control.
Phase 2
Do not convert anchor lanes into temporary storage once the board starts to open. Re-check lane ownership around move 13. Most resets start with a small mistake in this window, not the ending itself. Treat this as the rhythm checkpoint. Keep transfers steady here to avoid midgame lockups.
Phase 3
Finish the high-pressure lane before you touch cosmetic leftovers. Keep this active in the last 9 moves. This prevents late cleanup from reopening stable stacks. This is your finishing control layer. Apply it after the main stacks are stable to clean residual beads with less risk.
- • Protect your best empty lane instead of spending it on the first obvious merge. Hold this plan through move 7. Most stable clears start with this exact restraint.
- • Do not convert anchor lanes into temporary storage once the board starts to open. Re-check lane ownership around move 13. Most resets start with a small mistake in this window, not the ending itself.
- • Finish the high-pressure lane before you touch cosmetic leftovers. Keep this active in the last 9 moves. This prevents late cleanup from reopening stable stacks.
- • Common trap: turning the recovery lane into scratch space too early. It costs far more capacity than it seems to save. If this happens, pause and reset to the previous stable board shape instead of improvising extra moves.
- • Secondary trap: playing too fast after the route first starts to open. Most failed clears on this tier contain this mistake somewhere in the middle. If this happens, pause and reset to the previous stable board shape instead of improvising extra moves.
If the route stalls, repair destination capacity before chasing speed. For Level 607, keep the opener unchanged for two full attempts before altering only one transition action.
- • Step 1: replay your opening and verify first-route stability.
- • Step 2: compare midgame transfer order with the walkthrough.
- • Step 3: keep one final correction move for endgame cleanup.
Adjacent Levels

Beads Out Level 605 is not really about raw speed; it is about keeping the board recoverable while you build the first clean route. If you keep the early route intact through move 5, re-check capacity around move 13, and save a cleanup move for the last 9 moves, the ending is much more controlled.

The hardest part of Beads Out Level 606 is the opening discipline, not the final cleanup. Follow the opener through move 6, compare board shape again around move 11, and keep one correction lane available for the final 11 moves.
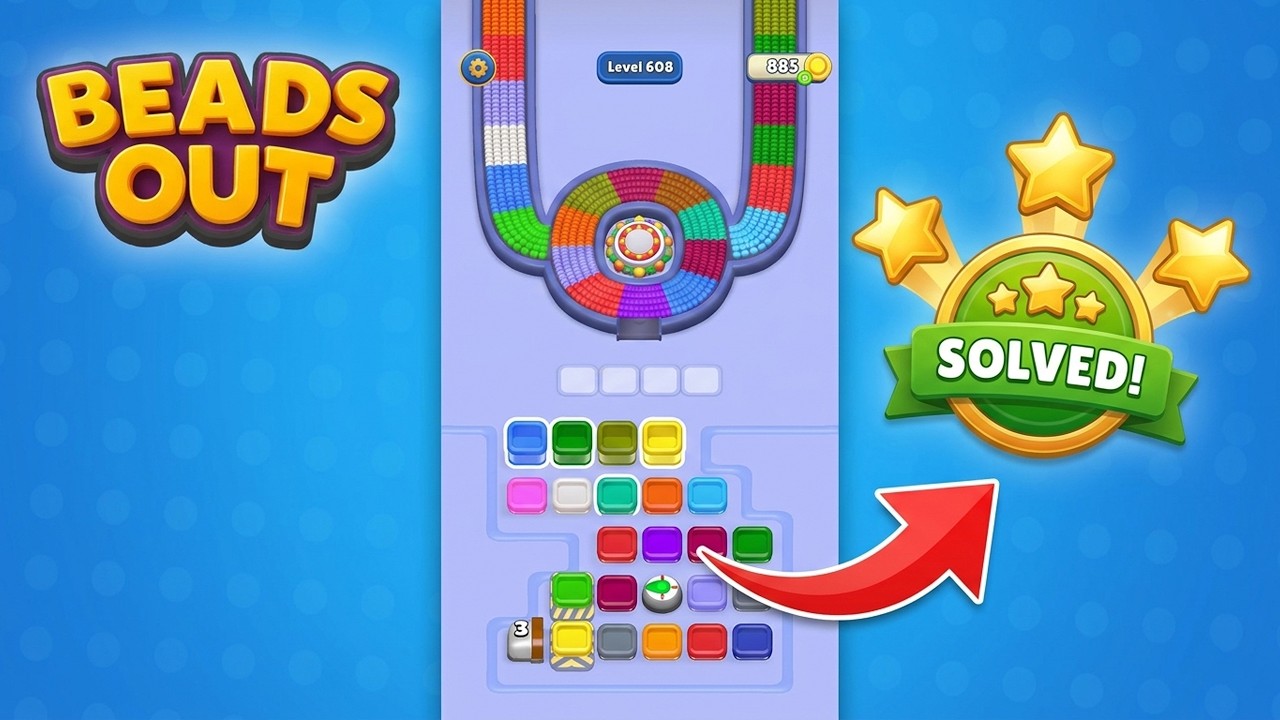
Beads Out Level 608 looks open at first, but the run only becomes safe after you lock one reliable transfer lane. Use the walkthrough as a checkpoint guide: stabilize the opener through move 4, confirm the middle phase around move 11, and preserve a safe landing spot for the last 10 moves.

Beads Out Level 609 becomes much easier once you stop chasing quick merges and start protecting structure. Mirror the first 5 moves from the video, pause at the checkpoint near move 11, and do not spend your last bailout lane before the final 10 moves.
Share Beads Out Level 607 Guide
Help other players by sharing this walkthrough page.